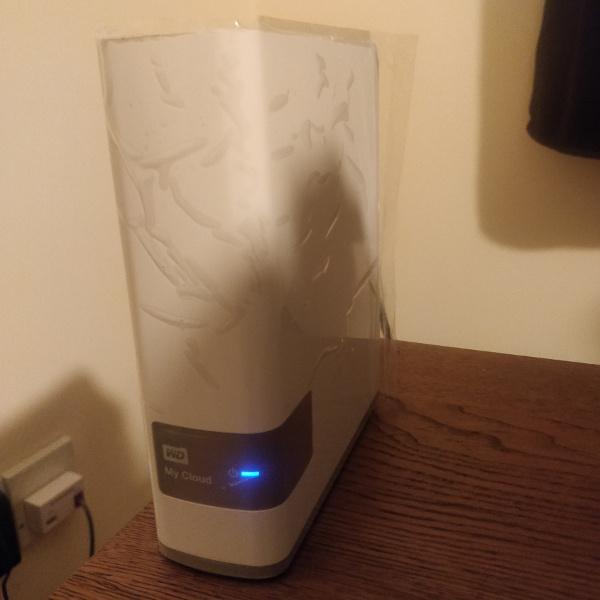
How to use a WD MyCloud
So it's been forever since I last wrote a blog post. To be honest, I'm not overly fond of duplication and so have difficulty coming up with novel topics to write about that won't just add to the noise of endless self-promotion that we're already to exposed to on the internet. But you know, whilst we're on the subject of duplication, I recently discovered the power of NAS backups something like six years later than everyone else in tech and thought it'd be cool to document how I got my WD MyCloud drive to work for me.
Um, not that Nas and not this one either - this post's about Network-Attached Storage devices!
Just as a brief introduction, Network-Attached Storage (NAS) devices can be thought of as external hard drives that can be reached via a network connection rather than a USB or SATA cable. One would typically connect such a device to a router and use a computer on the same network (e.g., a desktop connected to the router via an Ethernet cable or a laptop connected to the Wi-Fi). This is something of an oversimplification but I not an inappropriate analogy as the WD MyCloud certainly isn't intended for commercial use. In large organisations, one of the major use cases for NAS devices are within RAID systems as the fact that they can be used to store backups of machines that they aren't physically connected to means that they can provide redundancy in more critical circumstances.
For now, I'm just gonna use mine to store backups of my selfies in case one of my hard drives decide to fail (again).
Note: These instructions are for the 2013 generation only. I didn't want to buy the Home edition that came out in 2017 because I saw the Amazon reviews (they're awful) and didn't expect it to work with Linux anyways.
Oh, did I mention that these instructions are only for Linux? No? Well they are. Specifically Debian as that's what I use right now but I suspect that this will be useful for other distros too. These drives were only really designed to work for Windows and MacOS anyways so there's plenty of documentation for those operating systems already. Apologies if this isn't of much help.
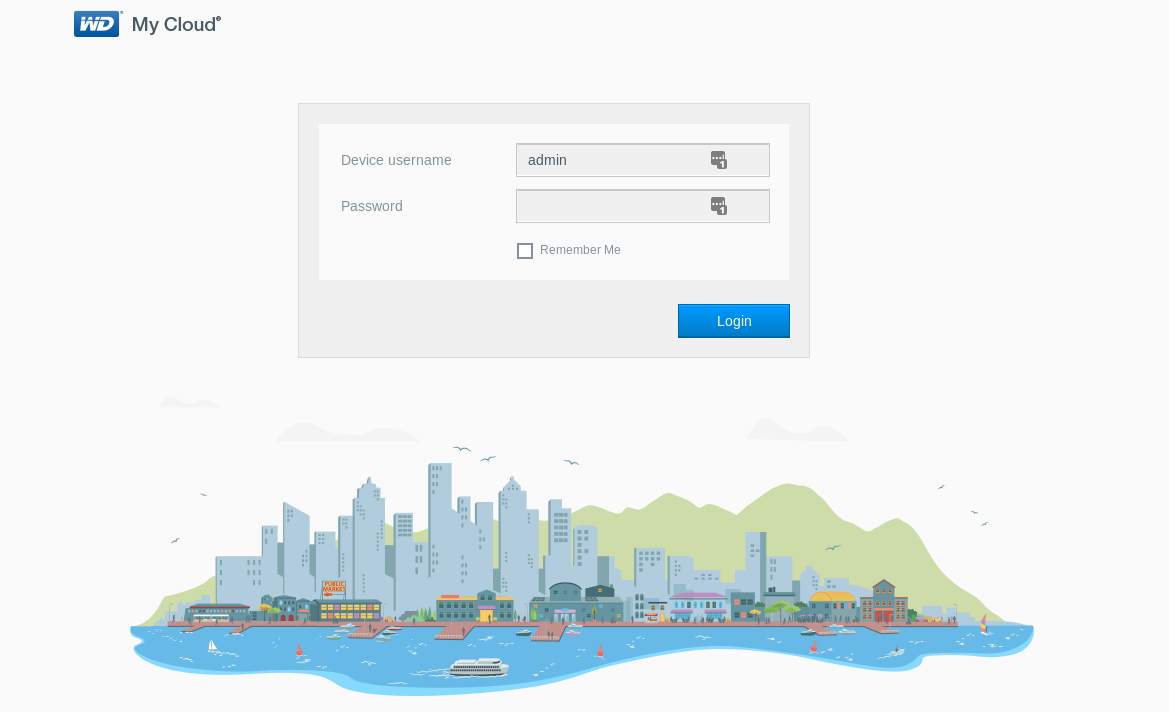
So setup is relatively straightforward. Just plug it into the mains and connect it to your router. The instructions tell you to visit https://mycloud.com/setup. The site will scan for connected devices and provide configuration options once found. Personally, I disabled the cloud functionality as I don't need it but, like, you can do whatever. The web interface looks like this:
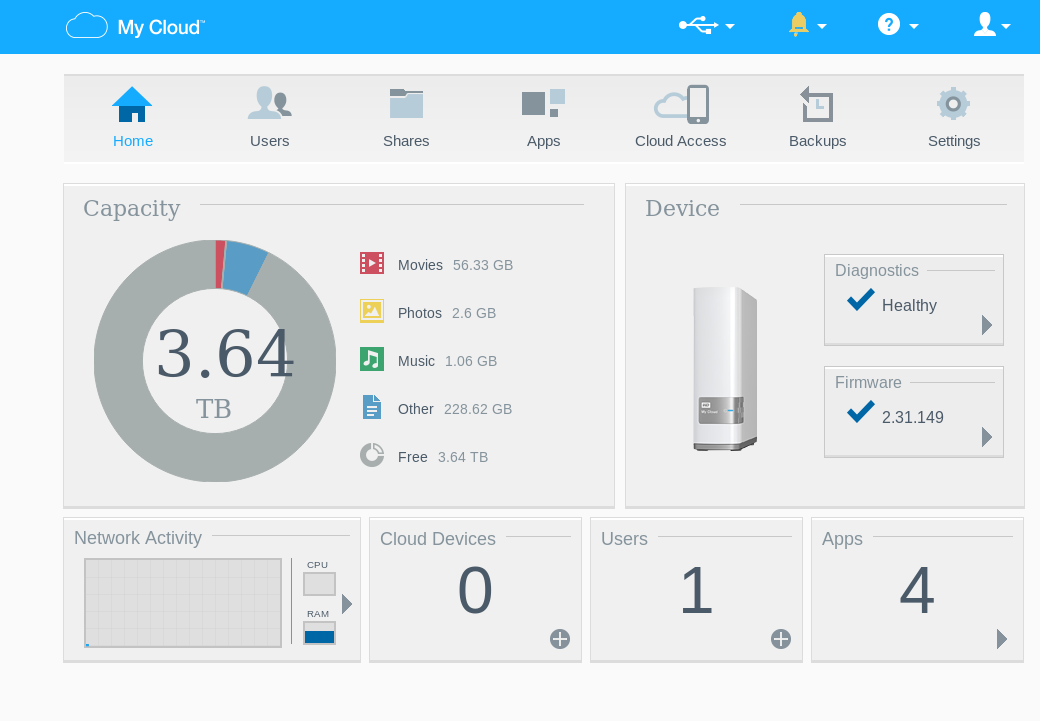
It's mostly useless for anything other than viewing storage stats and adding new shares (so, subfolders/subdirectories) to the drive. I mean, you can perform backups on USB devices that have been connected to the MyCloud device itself but I can't help but think using that feature almost defeats the point of using a NAS in the first place. Data transfer via USB is finicky and annoying. It also used to be quite slow. That's probably why syncthing got so popular in the Go community two years ago as it also allows you to transfer files over the network, bypassing USBs entirely.
To back up files, you basically have to use the file manager in the GUI (which is unreliable and rubbish - don't do that!) or do everything in the terminal. I'm gonna show you how to do the latter.
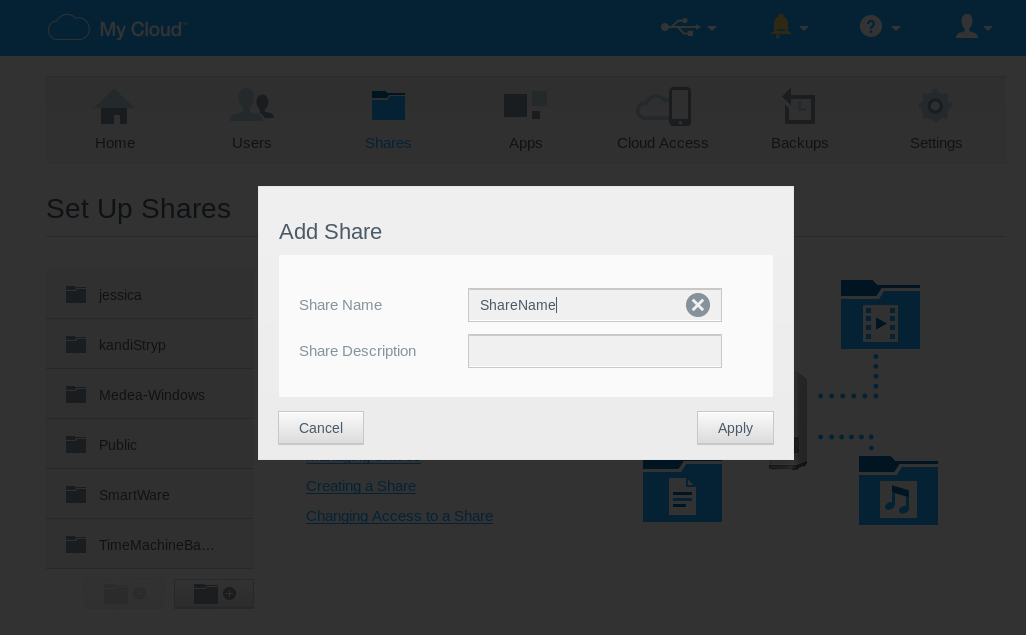
First however, I would suggest that you create a share in the MyCloud UI (that is, unless you would rather use the default Public share that's provided). It's fairly straightforward, essentially, once logged in, click Shares on the landing page and click on the icon at the bottom of the list of existing shares and the following modal should appear:
Because the share exists on a device that is external to your machine, it will need to be mounted onto a local directory before it can be accessed via the terminal. As the MyCloud is a network device, you will need to ensure that CIFS utils is installed.
CIFS stands for Common Internet File System which is the protocol that we'll use in a moment. Interestingly enough, even though the Search Storage page I've linked to in the previous sentence lists CIFS as obsolete, bizarrely its replacement (smbmount) was deprecated in Debian-based distros back in 2008. As CIFS is still the standard in Linux, that's what we're using here.
So to install, run:
sudo apt-get install cifs-utils
Next, mount one of the shares in your device onto a folder on your computer...preferably a folder in the root directory (/). I tend to mount USBs and external hard drives to my /media folder (sudo mkdir /media) or its subfolders. In order to do this, you will need to find the IP address of your drive and you can do this by pinging the web interface from the terminal:
ping wdmycloud.local
I believe the default IP address should be 192.168.0.14 but it's best to ping the drive just in case. Once you have the IP, mount the share like so:
sudo mount -t cifs -o username=admin,rw,users,uid=1000 //192.168.0.14/ShareName /media
That command itself can be broken down as follows:
-
sudo→ We're using sudo permissions because only sudoers can mount drives -
mount→ Obviously, this is the command we would use to mount a drive to a directory -
-t cifs→ This indicates the filesystem type that we want to use. Here we're using the Common Internet File System because...reasons -
-o→ This is where we would list the options that are being sent to the command. In this case, we have provided the MyCloud username (admin), the read-write permissions for the new filesystem (rw), specified that any user may mount or unmount the filesystem (users) and set the owner of the files in the new filesystem (uid=1000, indicating that the operating system's first user has been set as the owner). -
//192.168.0.14/ShareName→ This is the location of the share we set up on the MyCloud -
/media→ This is the location of the local directory that the share will be mounted onto.
At this point, you'll be prompted for your MyCloud password (the prompt should say: Password for admin@//192.168.0.14/ShareName:). Once entered, you should be able to view the contents of this folder by using thels command.
ls -al /media
Now at this point, your first instinct might be to copy all of your files using the cp command (or even cp -R for folders). Don't do this.

Or maybe do with the right flags and circumstances. Under most circumstances, you're probably better off using rsync (here's the man page!). It's like cp except it will check for updated parts of each file in the source directory and only copy those across to the target. As a result, it has more of an overhead as it checks each file before carrying out a backup but it's still unlikely to completely freeze your terminal window and/or computer so it has my seal of approval.
You may need to install rsync first:
sudo apt-get install rsync
If you wanted to back up your entire home directory, a command like this might suffice:
sudo rsync -avz --info=progress2 ~/ /media
Just to dissect the command a little further:
-
sudo→ We're using this because the share was mounted to a folder outside of the home directory. This avoids any issues with file permissions, &c. -
rsync→ We're using this becausecpkind of sucks -
-a→ This is rather helpfully described as "archive mode" in the man page. It is essentially is a shortcut for the following flags-r -l -p -t -g -o -Dand does most of the heavy lifting in the command, ensuring that the target directory contains the same contents, permissions and modification times as the source directory (with the exception of any files that have been explicitly excluded) -
-v→ Provides a verbose output whilst the command is running so that you can see which files are being processed at any given time. If you're the sort of person that wants to die inside when it looks like the terminal isn't doing anything, keep this flag in -
-z→ Compresses file data during the transfer - this can be good when using an Ethernet connection with a lower speed but can produce more overhead if your machine has a slower CPU. YMMV on this one actually -
--info=progress2→ This is optional and will show the progress -
~/→ The source folder (i.e., the folder we would like to backup). In this example it's the home directory -
/meda→ the target folder, which in this case is the location that we've mounted the share in our NAS device onto
If there are files that you wish to exclude from the backup (such as the files in your cache or Wastebasket), you can use the ---exclude flag like so:
sudo rsync -avz --exclude=.cache --exclude=.local/share/Trash/files/ ~/ /media
Note that there's no need to include an absolute path for excluded files and folders which is just due to the way the filtering rules work for that particular flag.
It's probably worth having a look through the rsync man pages as there are a number of different modes to choose from. For example, if you wanted to move files from one location to another, rather than simply copying them, you might run:
sudo rsync -avz --remove-source-files --info=progress2 ~/ /media/
Once you've decided on the command to use, theoretically you could configure a cron job that could run your rsync command after a given time period. I didn't really have a need for that at the time and so have left it at that on my machine.
If you wish to disconnect the device from your router, you may want to unmount it first. That can be done by running:
sudo umount /media
And that's pretty much how I use the WD MyCloud. All in all, I think it's a pretty good product - it does what I want and it hasn't broken yet. I really only wish I'd purchased it before my old hard drive died last year but I guess that's life. Anyways, I hope someone somewhere finds this useful. I'll try to post more content (hopefully more software-related content) in the future.